Instructions: Create an attraction with ticket sales
With Eventfrog, you can not only publish classic events such as concerts or festivals, but also permanent or regularly open leisure activities such as museums, zoos, swimming pools or amusement parks.
In this article, we’ll guide you step by step on how to create an attraction with ticket sales.
Overview:
What is an attraction?
Unlike an event (e.g. a concert or workshop with a fixed date), an attraction is an offer with a longer or unlimited duration, for example:
- Museums and permanent exhibitions
- Swimming and leisure pools
- Zoos or amusement parks
Attractions usually have fixed or recurring opening hours.
For more information, see: What is the difference between an event and an attraction?
Step-by-step guide
1. Selection: Event or attraction?
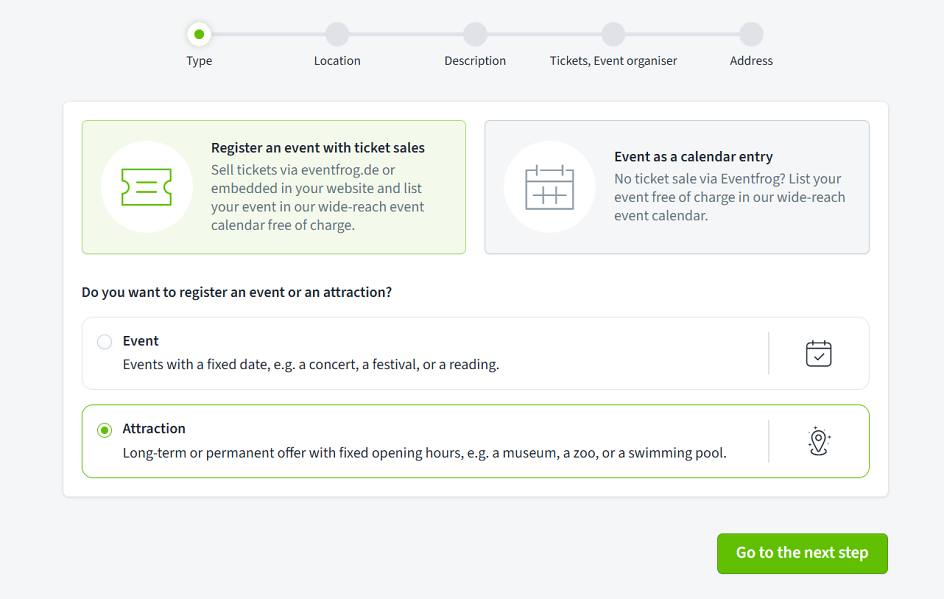
Click on «Create event» and select «With ticket sales».
Two options will then open below:
- Event – for events with a fixed date
- Attraction – for offers with recurring or continuous opening hours
Select «Attraction» if, for example, you want to create a museum, a swimming pool or a permanent exhibition.
2. Set the venue
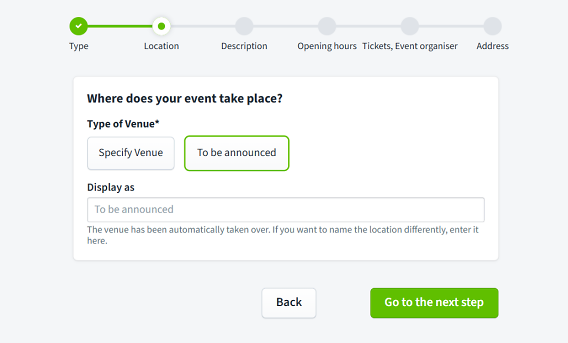
In the next step, define where your attraction takes place.
Tip: The displayed name can be defined independently of the address if required, e.g. «Zurich city centre» instead of the exact address.
3. Title & description of your attraction
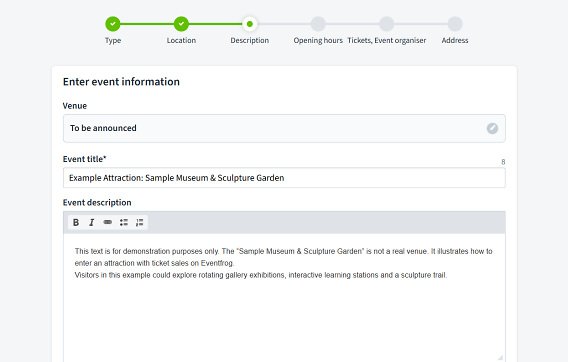
Now it’s getting specific: Give your attraction a clear title and describe what it’s about.
- Event title: e.g. Swimming pool on the Rhine
- Event description: Present your offer in detail – ideally with highlights, target audience, facilities, accessibility, etc.
- Short description: A concise summary for the preview
- Event category: Choose a category and a subcategory
4. Define opening hours
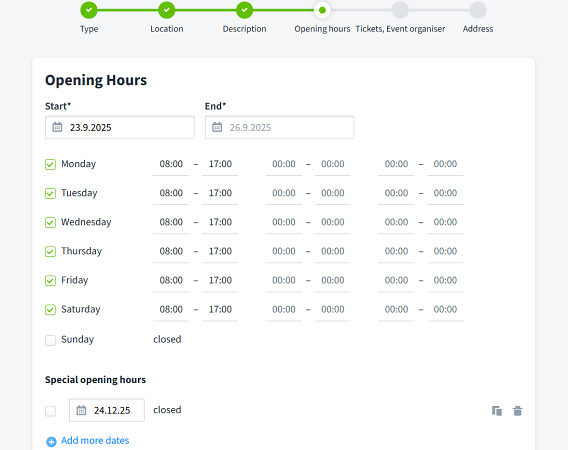
Specify when your attraction can be visited:
- Recurring opening days and times
- Special opening hours for public holidays or exceptions
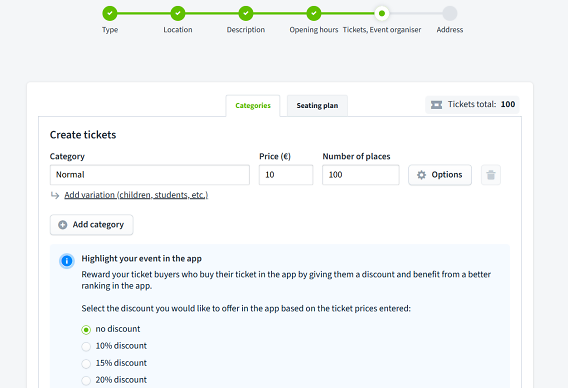
5. Create tickets
Create different ticket categories (e.g. Standard, VIP, Standing).
For each category, you can define the price, quantity and variations (e.g. children up to 16 years).
Under «Total tickets» you will see the overall number of your tickets.
For more details, see the help section under: «Create tickets»
6. Enter event organiser address
In order to sell tickets via Eventfrog, an event organiser address must be provided.
This is required for legal reasons, as a contract is created when tickets are sold.
- When creating your first event, you must enter all details in full.
- For further events or attractions, the address will be suggested automatically.
For more details, see the help section under: «My profile»
7. Edit and publish your attraction
You will now be taken to the overview of your attraction. To finalise it, click on «Edit».
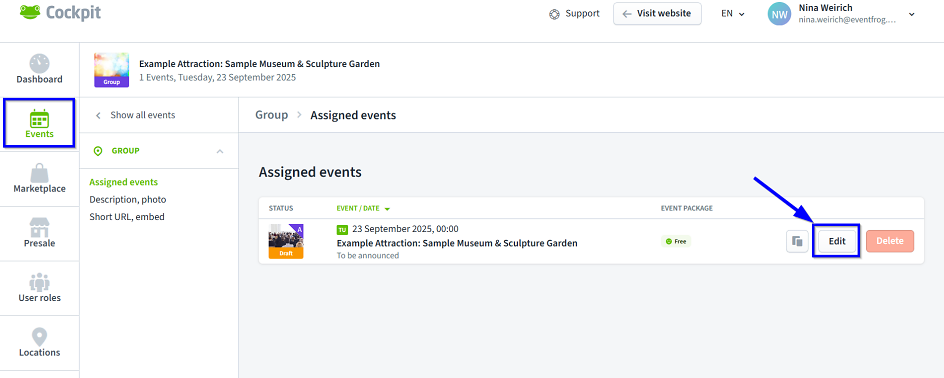
Then click on «Publish» in the top right to make your attraction go live.
As soon as you click Publish, your attraction will be visible and ticket sales will start.

Decouple individual days
If a specific day of your attraction needs to be handled differently, you can decouple it and edit it as a separate event.
This allows you to set special opening hours, create a special programme or allocate a separate ticket quota for that day.
For more information, see the help article: How can I decouple individual days from an attraction and edit them as an event?


